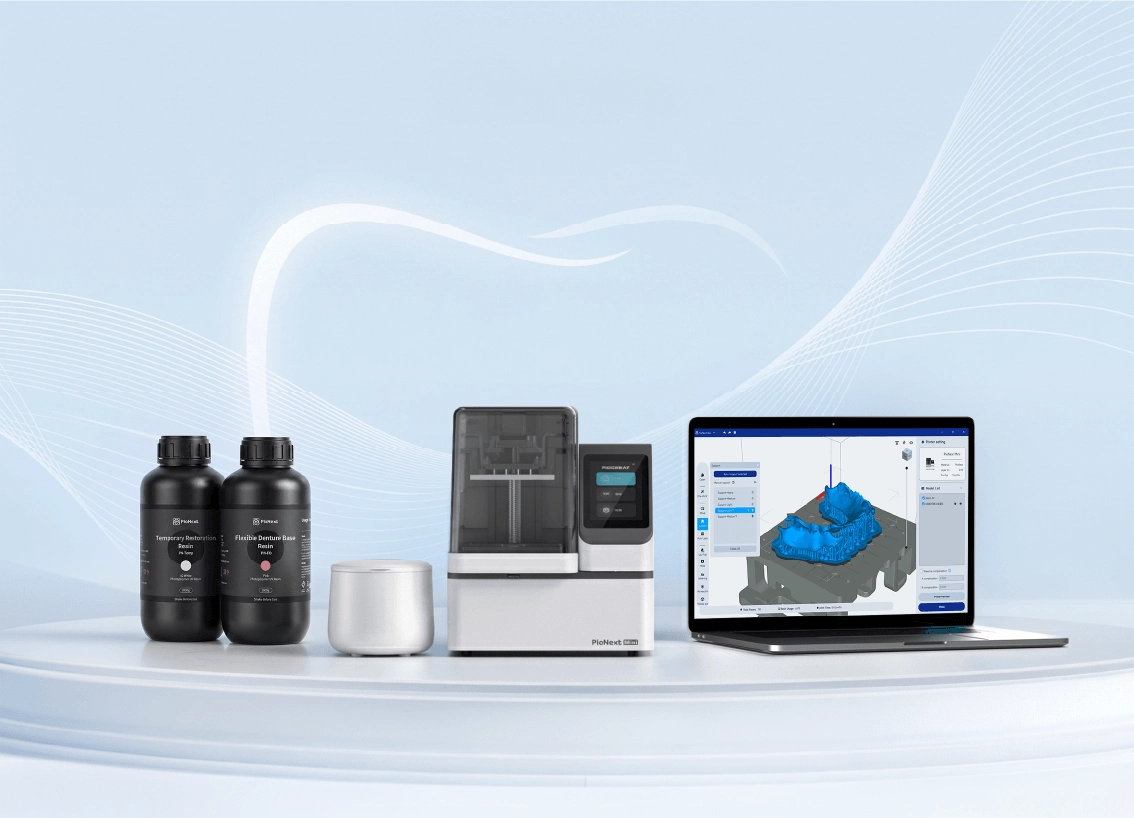


Flexible Denture Applications
Key Features
Characterized by their softness, metal-free composition, high aesthetics, and comfort, flexible denture materials are ideal for provisional partial denture restorations.
Temporary aesthetic restorations
Indications:
- Transitional phase for definitive restorations (e.g., implants and fixed prostheses).
- Provisional restorations for missing teeth in the anterior aesthetic zone.
- Provisional restorations for dental trauma or tooth defects.
- Immediate provisional restorations post-extraction.
- Maintenance of aesthetics and function during the soft tissue healing phase.
Partial dentures with metal-free clasps
Indications:
- Patients seeking high aesthetics and virtually invisible dentures.
- Patients with compromised periodontal health, unsuitable for conventional metal clasps.
- Patients requiring lightweight and comfortable removable prostheses.
1.Intraoral Scanning & Design
1.1 Intraoral Scanning

①Fully scan the edentulous area and buccal/lingual gingival margins
②Fully scan the mesial and distal abutment teeth
③Ensure an accurate occlusionrelationship scan
1.2 Design
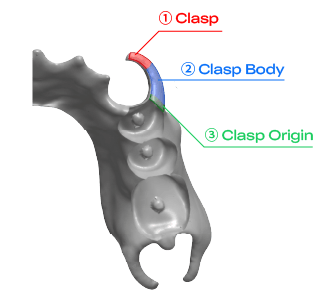
Note1:
① Denture Base
- Thickness: 1.5‒2.0 mm
- Margins: Smooth and rounded; extend over gingiva without excessive pressure on the frenum, border seal areas, and movable soft tissue.
② Clasp
- Recommended parameters
- Clasp Thickness: 0.8-1.0 mm
- Clasp Body Thickness: 1.0-1.2 mm
- Clasp Origin Thickness: 1.5-2.0 mm
- Clasp Width: 3.0-5.0 mm
- Undercut Depth: 0.25-0.50 mm - Position: Must avoid occlusal interferences.
Note2:
These recommended parameters are based on evidence-based literature, manufacturer specifications, and digital dental manufacturing experience. Please adjust them according to specific material properties and clinical conditions.
2.Nesting & Printing
Note: The flexible denture base and temporary crown use different resins and must be nested and printed separately.
Preconfigured print parameters are available for fixed, removable, implant, and aesthetic indications.
2.1 Nesting
2.1.1 Flexible Denture Base
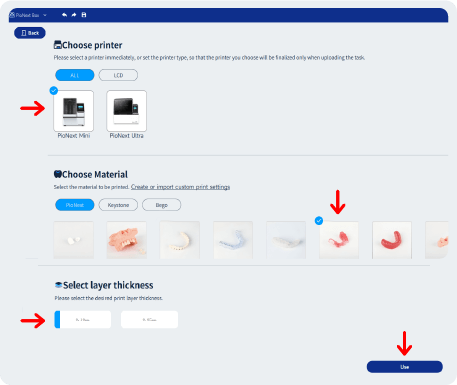
① Printer & Material Selection
→Open the PioNext Box software.
→Select [ PioNext Mini ] and [ Flexible Denture Base ], Choose [ Select Layer Thickness ] and click [ Use ].
Recommended layer thickness: 0.1 mm
This provides sufficient accuracy for most dental applications while improving chairside printing efficiency on the PioNext Mini.
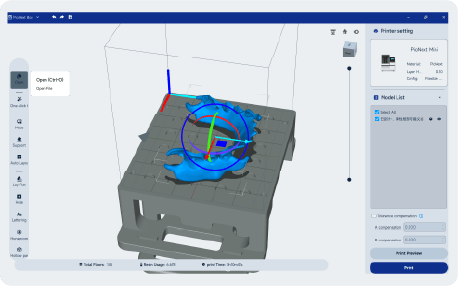
② Import STL Data
→ Click [ Open ] and select the flexible
denture base model file to import.
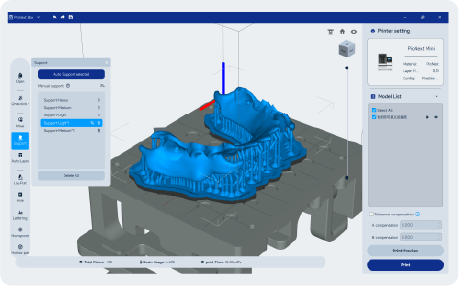
③ Orientation & Support Generation
→Orient the denture base.
Position the tissue side toward the supports to minimize contact on the crown area and ensure
proper seating.
→Select the appropriate support type and click [ Auto Support Selected ].
Recommended support type: Support-Medium / Light Recommended height: 2.5 mm / 3 mm
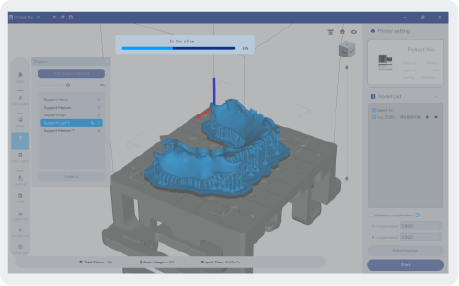
④ Slicing
→ Click [ Print ] at the bottom right to export the sliced file
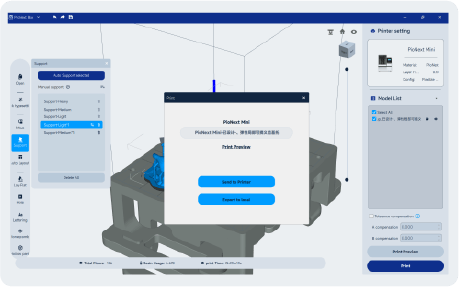
⑤ Export Sliced File
→ Method 1: Export to a USB drive.
→ Method 2: Connect the computer and the printer to the same Wi-Fi network, then transfer the sliced file to the printer.
2.1.2 Temporary Crown
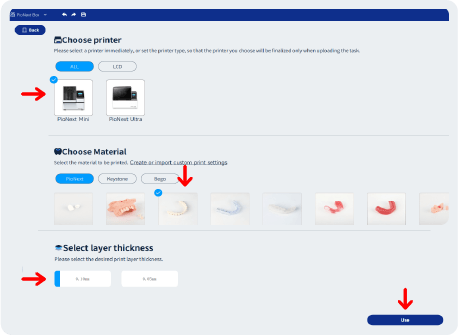
① Printer & Material Selection
→Remove the imported flexible denture base file or restart the PioNext Box software.
→Select [ PioNext Mini ] and [ Temporary crown ]. Choose [ Select Layer Thickness ] and click [ Use ].
Recommended layer thickness: 0.1 mm
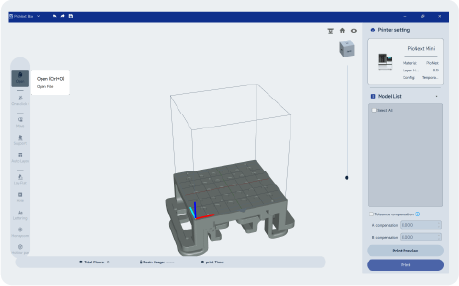
② Import STL Data
→ Click [Open] and select the temporary crown model file to import.
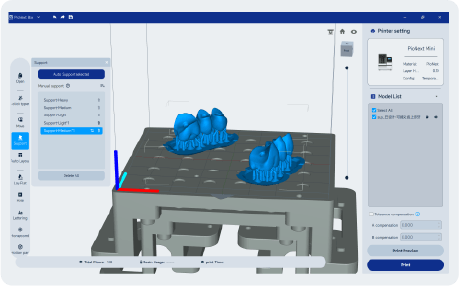
③ Orientation & Support Generation
→Orient the temporary crown.
We recommend positioning the occlusal surface toward the supports.
→Select the appropriate support type and click [ Auto Support Selected ].
Recommended support type: Support-Medium / Light
Recommended height: 2.5 mm / 3 mm
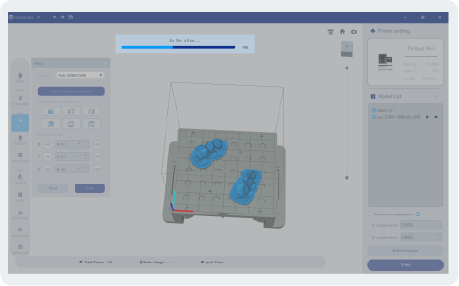
④ Slicing
→ Click [ Print ] at the bottom right to export the sliced file
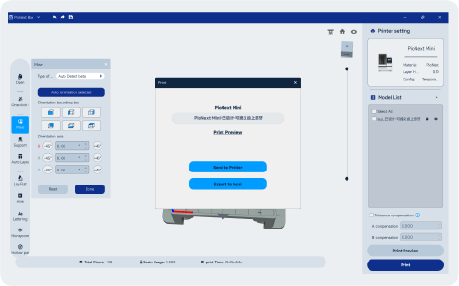
⑤ Export Sliced File
→ Method 1: Export to a USB drive.
→ Method 2: Connect the computer and
the printer to the same Wi-Fi network, then transfer the sliced file to the printer.
2.2 Printing
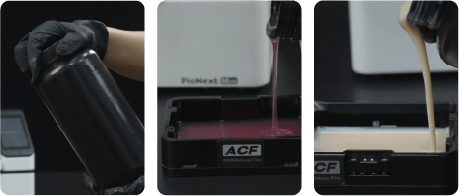
2.2.1 Preparation
Notes
→Inspect the LCD screen and release film for any damage or defects before printing.
→Ensure the build plate is clean and free of resin residue. If necessary, wipe clean with isopropyl alcohol (IPA).
→Verify device readiness, shake the resin well and slowly pour it into the vat.
Note: Do not exceed the [ MAX ] line.
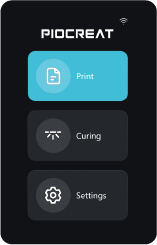
2.2.2 Start Printing
① Import the sliced file and start printing
→ Tap [ Print ] on the device screen, select the printing file and import it.
· Wi-Fi Import: Tap [ Print ], select the file and download it to start printing.
· USB Import: Insert the USB drive, tap [ Print ], select the file and download to start printing.
② Flexible denture base printing

Pour in the
flexible denture base resin
Remove the build platform
after printing
Press both ends of the platform
to release the model
③ Temporary crown printing

Replace the resin vat and pour
in the temporary restoration resin
Remove the build platform after printing
Press both ends of the platform
to release the model
3.Post-Processing
3.1 Cleaning & Drying
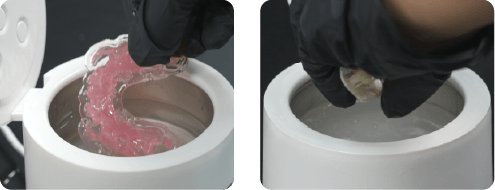
① Cleaning
Pour the alcohol into the Wash Mini, press [ Start ] and wash the flexible denture base and temporary crown separately
Note: The alcohol level must completely submerge the models without exceeding the [ MAX ] line.
Preconfigured print parameters are available for fixed, removable, implant, and aesthetic indications.
② Drying
After cleaning, dry the models with an air gun (which also helps remove residual resin)or let them air dry.
3.2 Support Removal
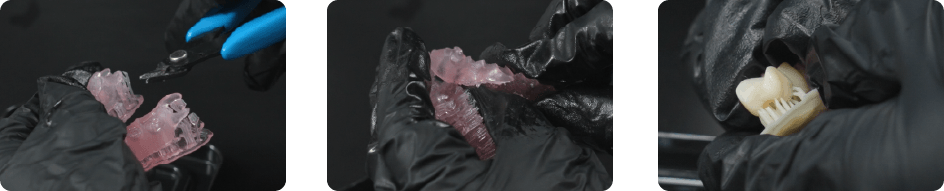
3.3 Curing
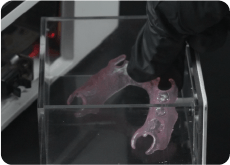
① Flexible Denture Base
Use the PioNext Mini built-in curing box.Light Intensity (PWM): 50%
Time: 5 min
Note: These parameter settings are applicable to PioNext flexible denture base resin, for reference only.
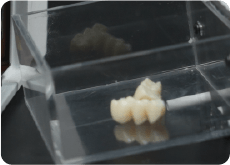
② Temporary Crown
Use the PioNext Mini built-in curing box.Light Intensity (PWM): 30%
Time: 1 min
Note: These parameter settings are applicable to PioNext temporary restoration resin, for reference only.
3.4 Grinding & Polishing
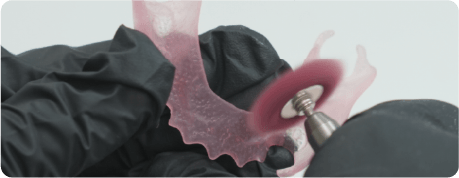
① Grinding
Use coarse and fine burs to remove support remnants from the flexible denture base and temporary crown.
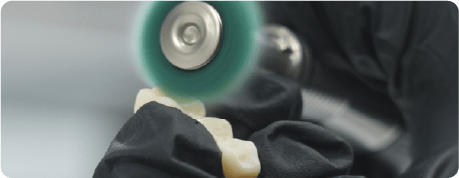
② Polishing
Polish the restoration surface with polishing burs.
3.5 Base & Crown Bonding
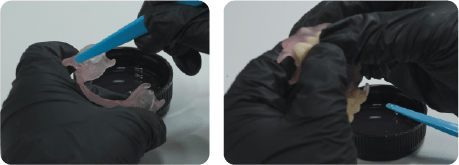
① Bonding
Use a specialized adhesive or liquid flexible denture base resin for bonding.
Note: Inspect the junction after bonding; wipe away any residual resin using a cotton swab or non-woven wipe.
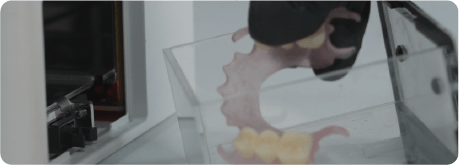
② Curing
Use the PioNext Mini built-in curing box.Light Intensity (PWM): 30%
Time: 1 min
Note: These parameter settings are applicable to PioNext flexible denture base resin, for reference only.
3.6 Glazing
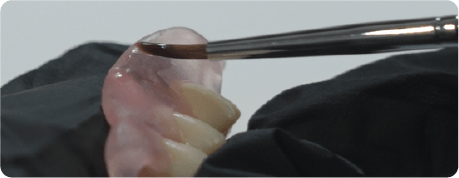
① Purpose
·Enhance surface gloss.
·Reduce surface roughness.
·Improve wearing comfort.
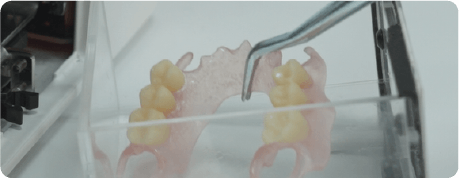
② Curing
Use the PioNext Mini built-in curing box.Light Intensity (PWM): 30%
Time: 1 min
Note: Due to variations in curing parameters among different brands of glaze paste, the parameters provided here are for reference only. For actual use, please refer to the official instructions of your selected brand.
Finishing