


Dentist Introduction
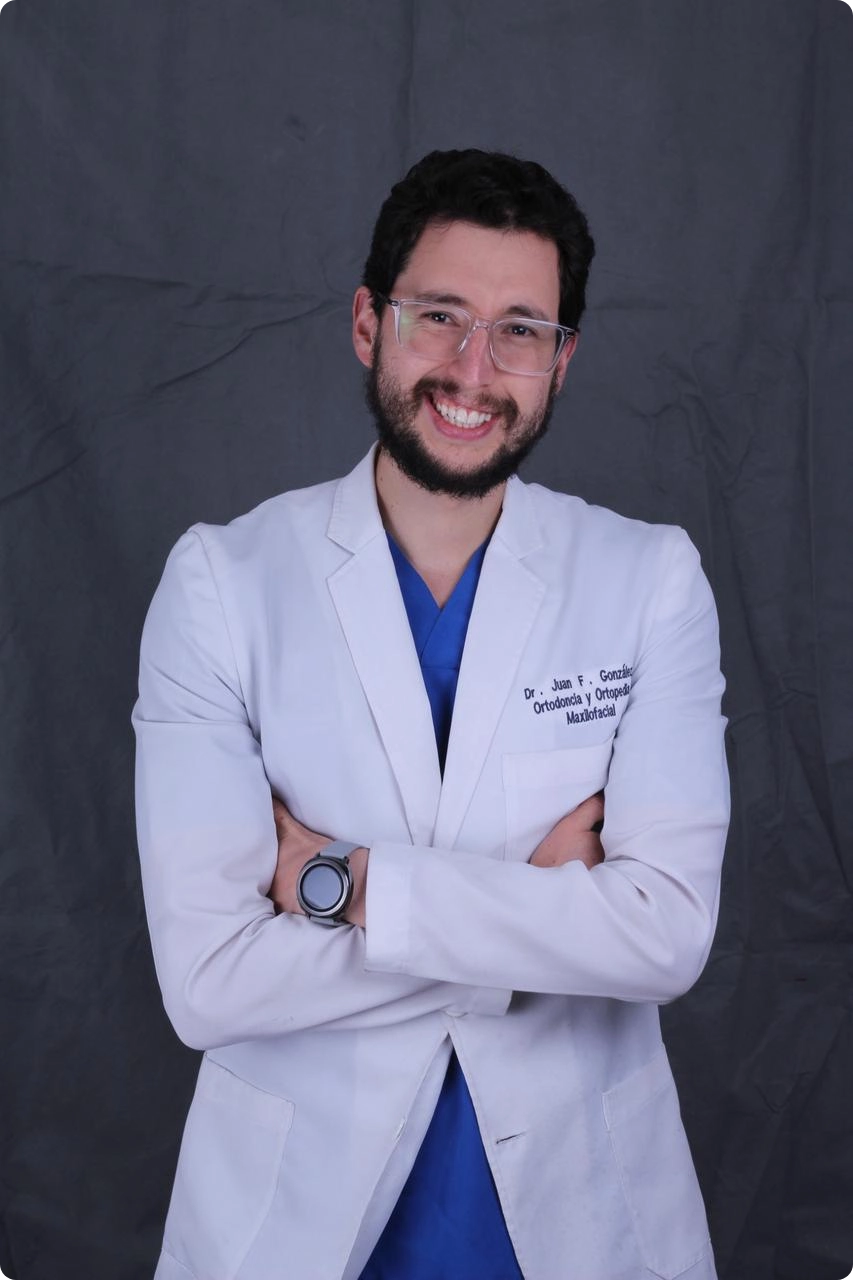
Dr. Juan Francisco Gonzalez is an orthodontist based in Ecuador and a graduate of UNITEC, Mexico. He focuses on the clinical application and education of digital dentistry and 3D printing. Through his YouTube channel, @CursosOdonto3D, he shares practical digital workflows and real clinical cases.
Case Background
As patients increasingly value faster, more comfortable care with fewer appointments, Chairside Same-Day Dentistry is becoming an important part of modern restorative workflows. By reducing the need for multiple appointments, it can help create a smoother experience for both clinicians and patients.
PioNext Mini makes chairside digital production more accessible with a compact, integrated workflow designed for dental practices.
Designed and provided by Dr. Juan Francisco González, and clinically treated by Dr. Patricio González, this case documents the restoration of a fractured tooth #14 and demonstrates the use of PioNext Mini to produce a ceramic crown within a real chairside digital workflow.
Case Overview
Patient Information
-
29-year-old Male
-
Tooth: #14
-
Diagnosis: Crown fracture secondary to dental caries. History of previous root canal treatment.
-
Restoration: Chairside digital full-crown restoration
-
Objective: Same-day delivery with improved patient comfort and chairside workflow efficiency
Clinical Workflow
01 Tooth Preparation & Intraoral Scanning
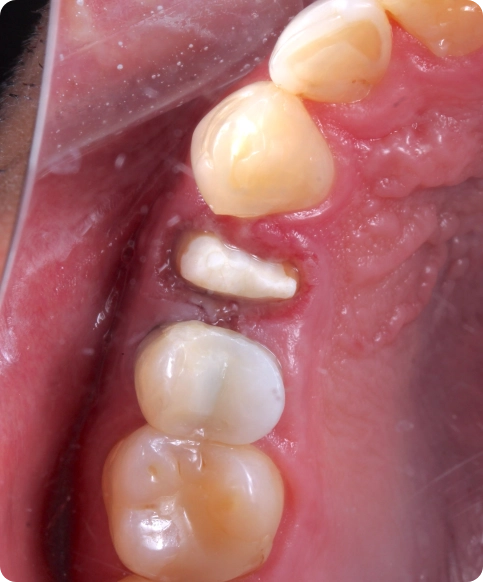 Occlusal View of Tooth Preparation
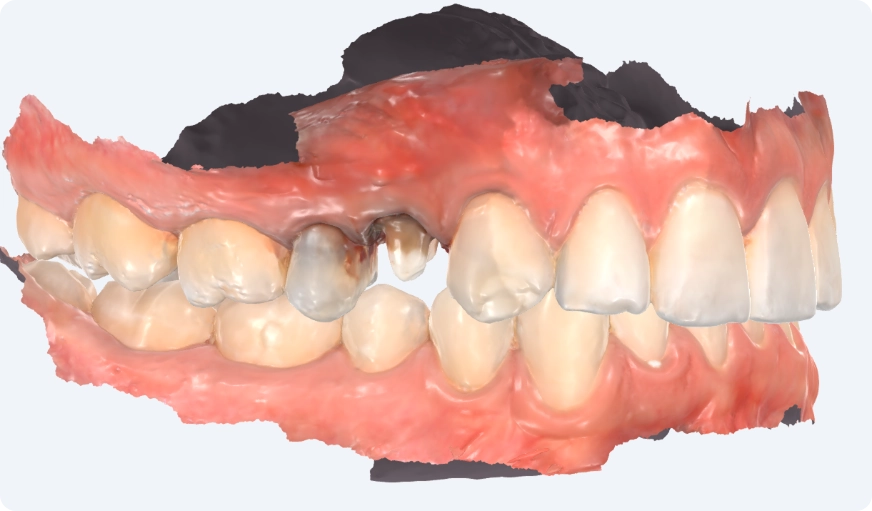
Intraoral Scan Data
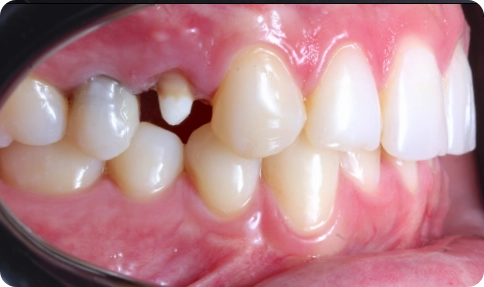
Buccal View of Tooth Preparation
02 CAD Design
In a chairside digital workflow, restoration design must balance esthetics and function, with careful attention to:
-
Marginal Fit
-
Occlusion
-
Proximal Contacts
-
Restoration Thickness
03 Nesting & Printing
PioNext Mini works with PioNext Box slicing software to make chairside print preparation faster and easier:
-
Automated indication-based selection: no manual parameter setup required.
-
Auto-generated supports
-
Seamless Wi-Fi transfer: Nesting data is transmitted instantly via the same WLAN
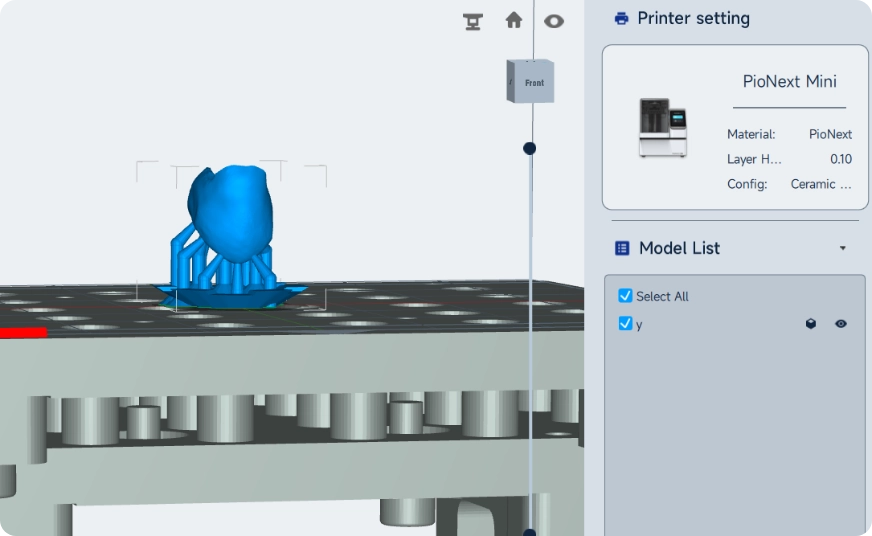
For this case, Dr. Juan selected the compact PioNext Mini to fit the space and pace of a busy dental practice. His priority was a system that could be used as part of the everyday clinical workflow—not one that added complexity.
“For a device to work in a clinic, it needs to be compact, efficient and easy for the team to use every day.” — Dr. Juan Francisco González
With its small desktop footprint and integrated print-and-cure design, PioNext Mini fits neatly into a chairside digital workspace. The levelling-free setup and intuitive interface allowed the team to move efficiently from file preparation to printing as part of the routine restorative workflow.
MATERIAL USED IN THIS CASE
PioNext Ceramic Crown Resin
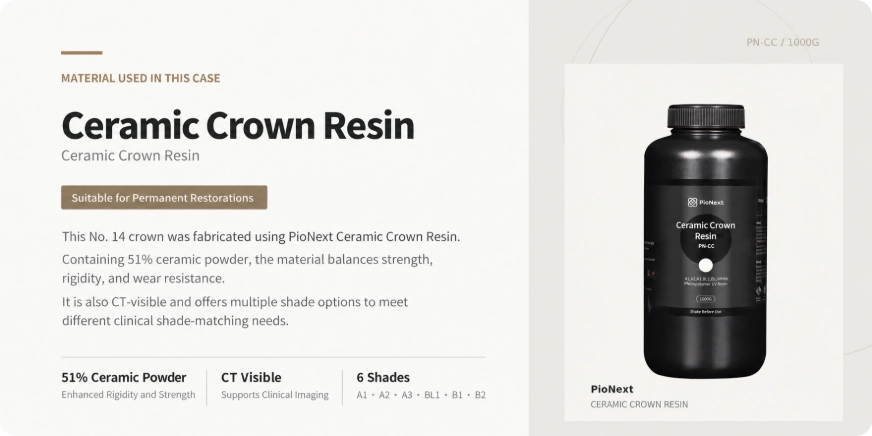
Suitable for Permanent Restorations
This tooth #14 crown was produced using PioNext Ceramic Crown Resin. With 51% ceramic filler, the material balances strength, rigidity, and wear resistance. Its CT-visible formulation allows clinicians to evaluate restoration seating and fit through imaging. Six available VITA shades also provide greater flexibility when matching each restoration to the patient’s natural dentition.
51% Ceramic Filler
Strength, rigidity, and wear resistance
CT-Visible
Helps assess restoration seating and fit
6 VITA Shades
A1 · A2 · A3 · BL1 · B1 · B2
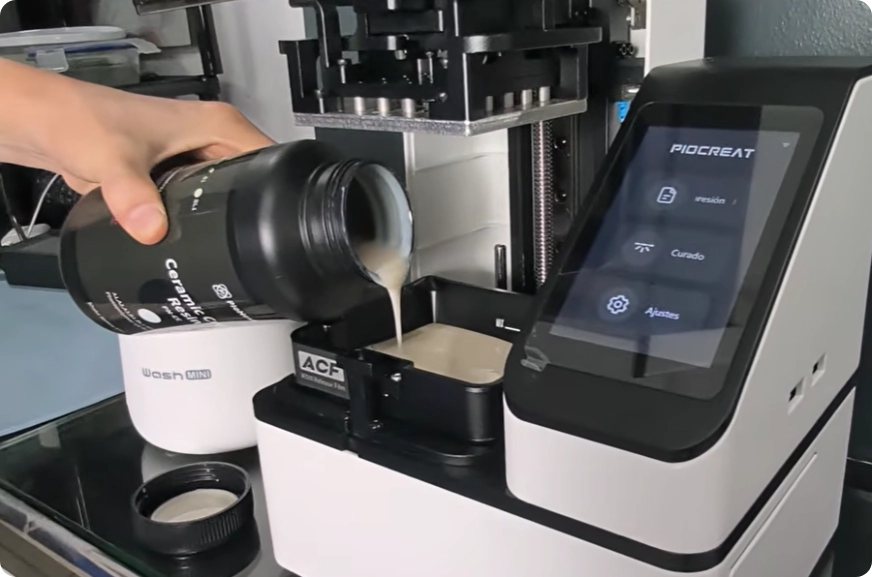
PioNext Ceramic Crown Resin
Print Speed
Based on in-house testing by PioCreat 3D Lab, a standard full crown for tooth #14 can be printed on PioNext Mini in approximately 10 minutes.
Print time is mainly influenced by the following factors:
Layer Thickness
-
A 0.1 mm layer thickness is recommended for chairside printing with PioNext Mini.
-
This setting balances the accuracy required for most dental applications with the fast turnaround needed in chairside workflows. Any visible 3D-printing layer lines will be removed during final polishing.
Print Height
-
At the same layer thickness, a taller print requires more layers and therefore more printing time.
-
Optimizing part orientation and print height can help improve overall print efficiency.
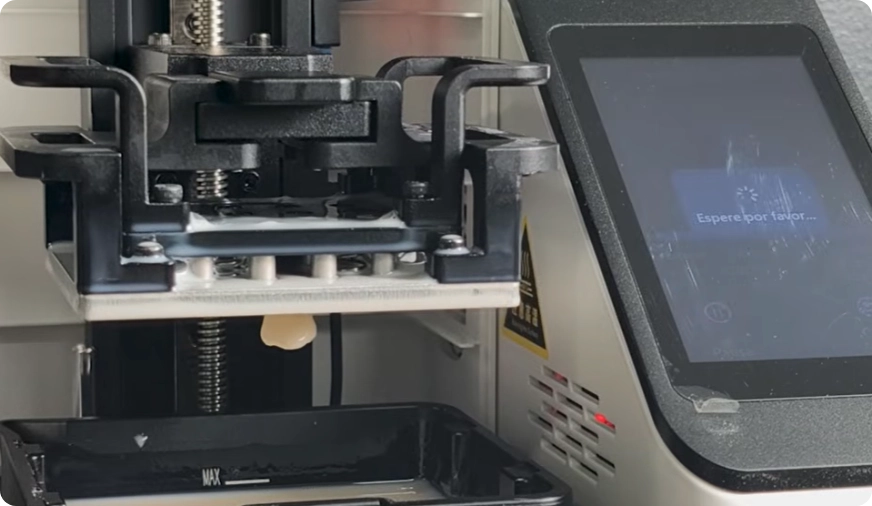
Crown Printed
Post-curing Settings
Recommended settings for PioNext Ceramic Crown Resin with a PioCreat post-curing unit:
-
PWM: 30%
-
Post-curing Time: 1 min
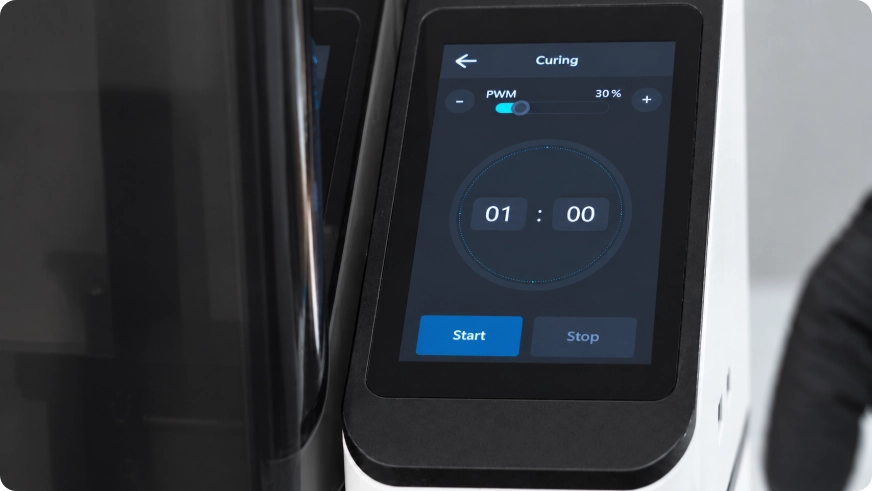
Post-curing interface
Final Crown Placement
A monochromatic crown provided adequate aesthetics in this case. After polishing and glazing, final adhesive bonding resulted in an aesthetic and functional restoration.
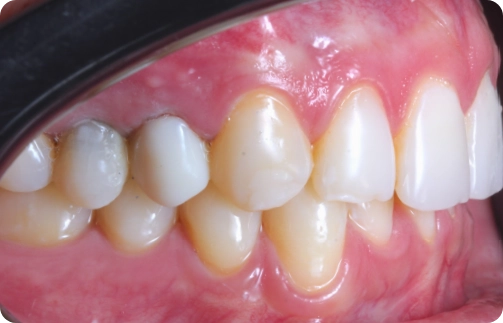
Buccal side view
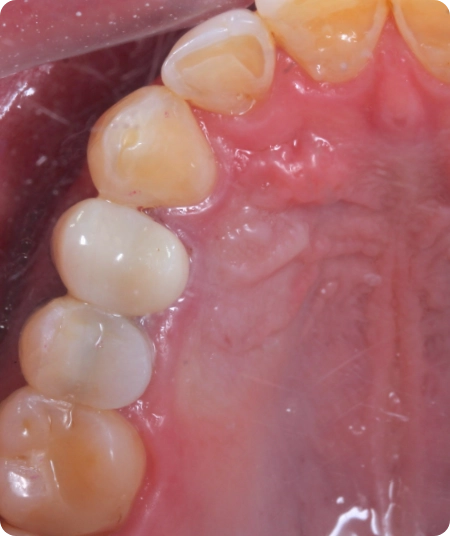
Occlusal side view: Demonstrating adequate proximal contacts and contour