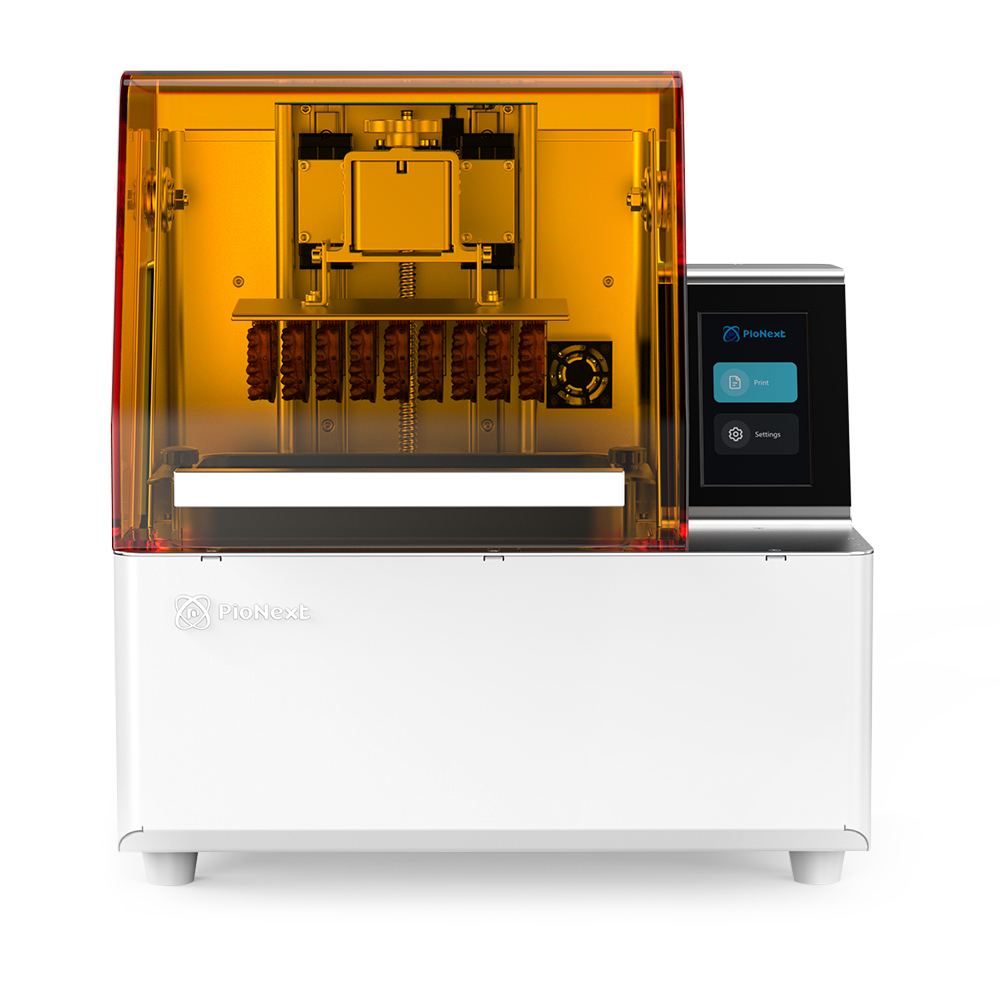
Piocreat Resin
LCD 3D Printer First Time Use Guidence
1. Home Z axis after switch on;
2. Take out the build plate and resin vat;
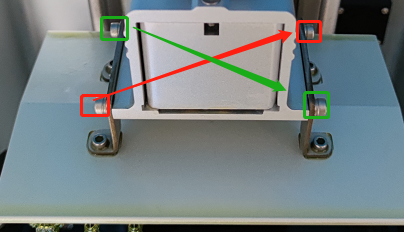
3. Leveling: loose the bolts fixing build plate;
Click “leveling”, let the Z axis reaches the bottom;
Put a A4 paper or leveling card on the screen, install the build plate;
Press on the build plate to ensure it at right position, then fasten the bolts cater-cornered ;
4. Auto home and pull out the paper after level finished;
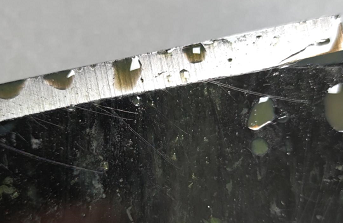
5. Install the vat: inspect if there is foreign matter on the screen and build plate;
6. Shake the bottle to let the resin more uniform, pour the resin into resin vat, note: the resin should under the 500ml mark;
7. Choose the parameters according to various resin;
8. Insert the USB, choose the file to be printed;
9. Click Print and choose parameters accordingly;
10. Close the cover and put the printer at where no strong light while printing;
11. Take out the build plate when finished, let the resin backflow into the vat;
12. Lift the model, let the cutter point upwards;
13. Clean the model, use two bottles of alcohol and clean twice;
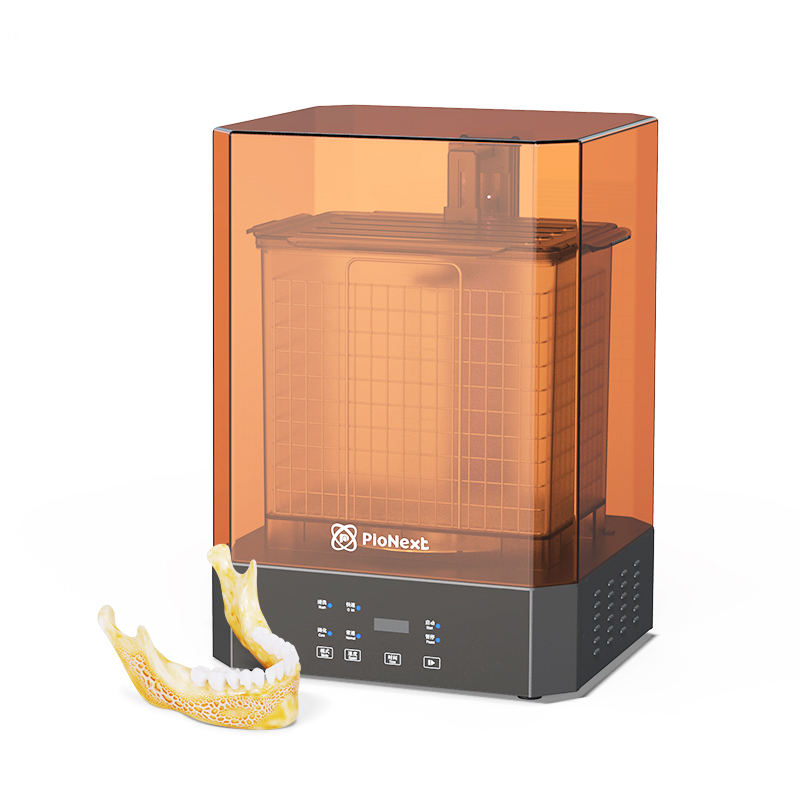
14. Solidification, dry models with air gun, then put them into solidification box, the time solidification process is 5-10 minutes;