< img height="1" width="1" style="display:none" src="https://www.facebook.com/tr?id=1568787653269583&ev=PageView&noscript=1" />

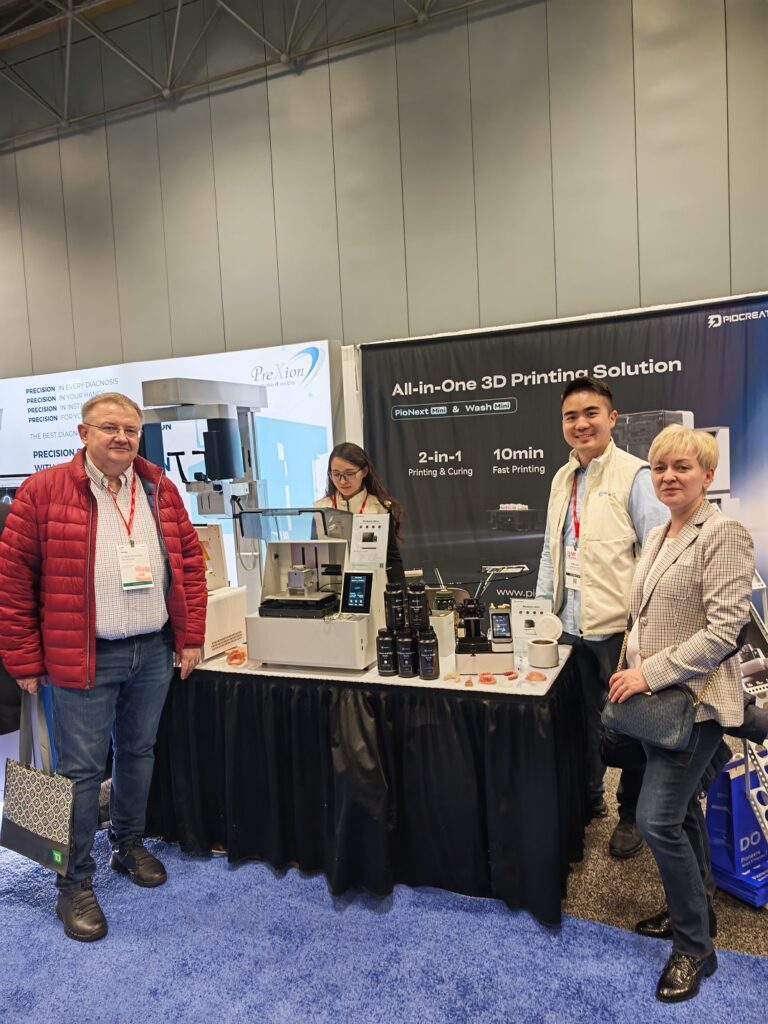
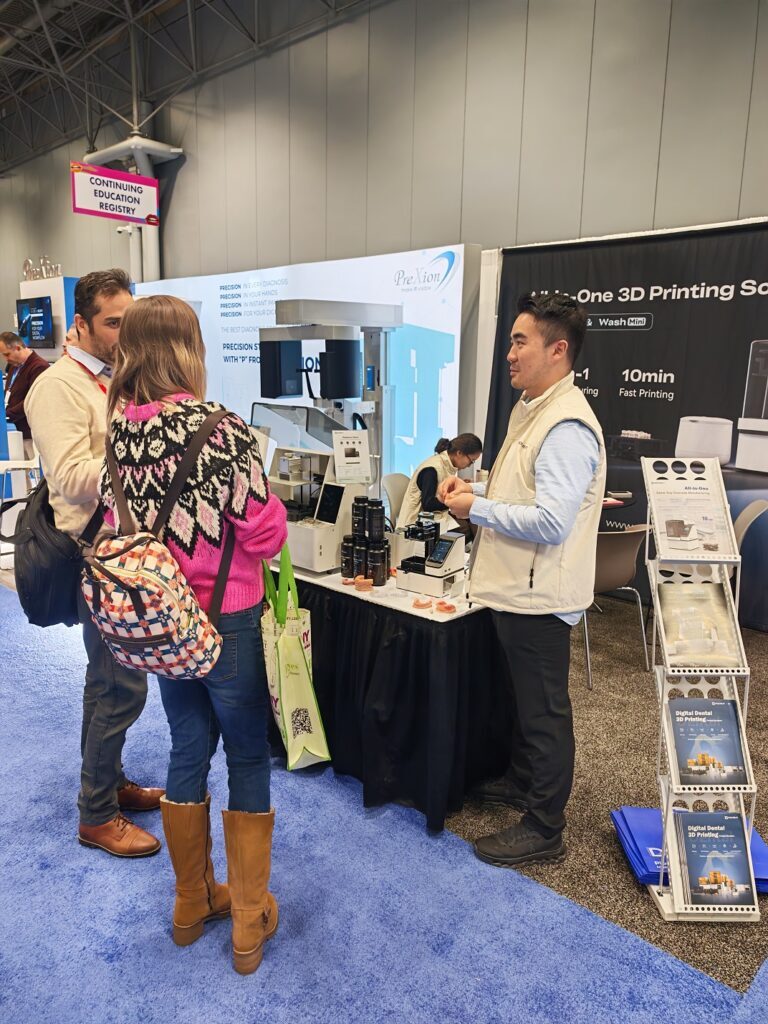
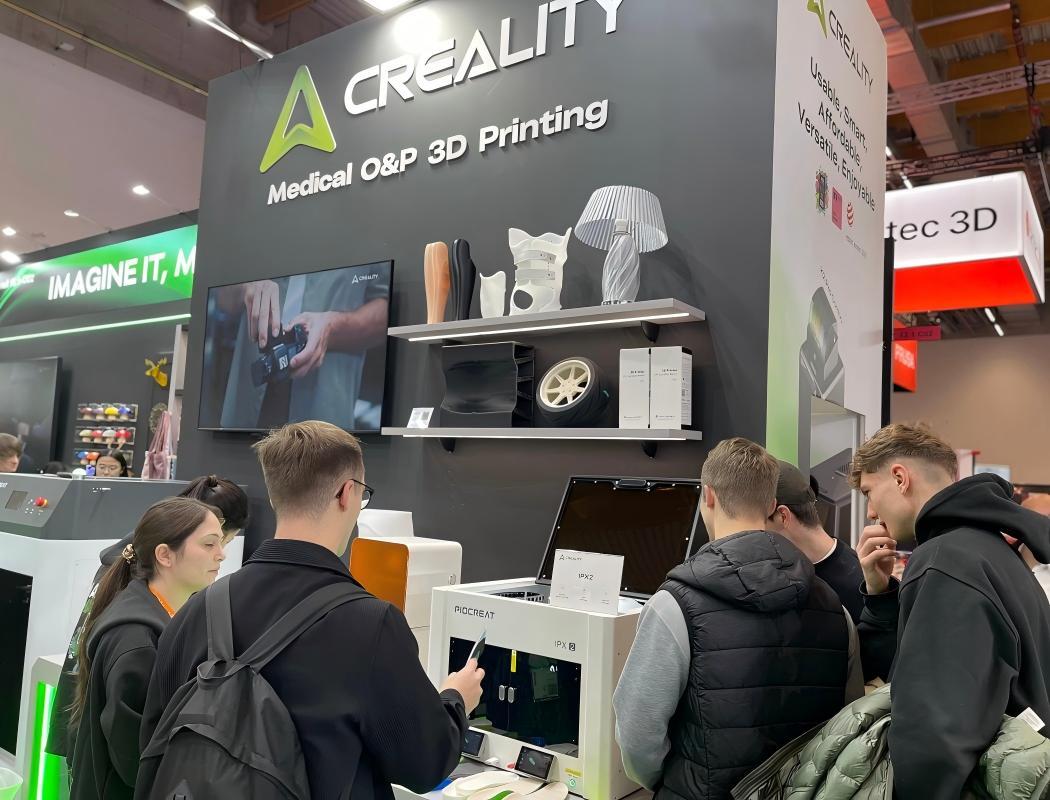
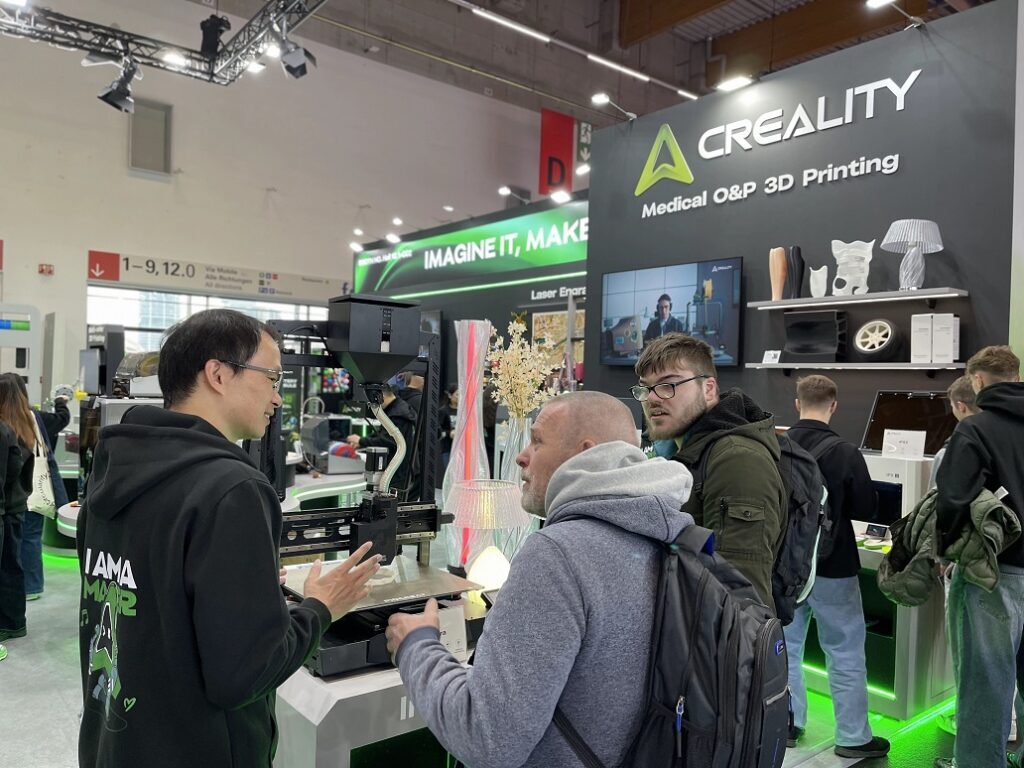
PioCreat Wraps Up I.S.P.O. WORLD CONGRESS 2025

PioCreat proudly concluded a successful showcase at the 20th I.S.P.O. World Congress, held from June 16–19, 2025, in Stockholm, Sweden. The International Society for Prosthetics and Orthotics (ISPO) World Congress is a premier global event bringing together leading experts in prosthetics, orthotics, rehabilitation engineering, and related fields. With over 3,000 members across 90+ countries, ISPO fosters collaboration and innovation in restoring mobility and improving lives.

I.S.P.O. WORLD CONGRESS 2025

Throughout the congress, PioCreat engaged with industry professionals, clinicians, and researchers, highlighting how additive manufacturing is reshaping prosthetic and orthotic solutions. Our booth showcased advanced 3D printing applications designed to deliver precision, customization, and efficiency to the field.

We were delighted to connect with partners such as Eddi OrthoPros Lab and Foothealth UK, who joined us at the event for valuable discussions and collaboration.

prosthetics and orthotics industry

Key Highlights of Our Solutions

  • Scoliosis Brace Production: The MS01 high-temperature pellet 3D printer demonstrated its capability to produce fully customized spinal orthotics with superior support, comfort, and fit.

  • Custom Insole Fabrication: The IPX2 3D printer, combined with our FS A003 foot scanner, provided a streamlined digital workflow for designing and manufacturing personalized insoles with precision and speed.

  • Prosthetic Sockets and Covers: Our custom-engineered 3D printed prosthetic sockets and covers deliver greater durability, comfort, and aesthetic flexibility compared to traditional methods. Material and color options allow for enhanced personalization while reducing limb wear and improving stability.

partners

PioCreat remains committed to advancing digital manufacturing solutions that support clinicians and improve patient outcomes in prosthetics and orthotics.

How to Achieve High-Quality Prints with Pellet 3D Printers

Table of Contents

Pellet Material Testing

Purpose: Adjust nozzle temperature and flow rate for current ambient conditions to achieve better printing results

A. Determining Optimal Nozzle Temperature

  1. Set Initial Temperature
  • Navigate to ‘Preheating’ Settings on the display.
  • Input the recommended temperatures for Hotend upper and hotend lower

pellets

Hotend upper

hotend lower

ABS

160

190

PLA

170

210

PETG-1211

180

220

PETG

200

230

TPU(1.2 1.5 nozzle)

160

190

TPU(2.0 3.0 4.0 nozzle)

170

200

PioCreat 3D
PioCreat 3D
  1. Extrude Material
  • After reaching target temps, set the ‘distance’ to ‘5000mm’, and the ‘speed setting’ to ‘Slow’.
  • If the feed tube is empty: Click “Load Material”.
  • Then select “Extrude”.
  1. Evaluate Extrusion Quality
  • Ideal Output:
  • Smooth, continuous flow without breaks/unmelted particles.
  • Strong tackiness between layers.
  • Minimal oozing when idle.
  1. Temperature Adjustment
  • Too High: Excess oozing, rough surface texture → Lower by 5–10°C.
  • Too Low: Grinding noise from extruder, weak layer adhesion → Increase by 5–10°C.
  1. Check for Moisture
  • Signs of Wet Filament: Popping/crackling sounds during extrusion.
  • Bubbles inside extruded strands.
  • Solution: Dry filament  (or reduce temp as a temporary fix).
  • Image: Wet filament exhibits foamy, porous strands.
Common material drying parameters
pelletsTemp (°C)Time (h)
PLA501 to 3
PETG60-702 to 4
ABS802
TPU95-1102 to 4

Others pellet

Temp(°C)

Time  (h)

ABS

80

3

PC

120

3

PC/ABS

100

3

PA6

80

3

PA66

80

3

PA66GF35%

80

3

PMMA

80

3

POM

100

3

PBT

120

3

PPO

100

3

PPS

150

3

PET

125

3

PPE

100

3

  1. Validation Print
  • Print a hollow cube/cylinder in “Spiral vase”.
  • Use pliers to bend the model 90° — if it doesn’t crack, the temperature is optimized.

B. Flow Rate Calibration

Reference Video: Start at 0:43.

Slicing Software Techniques

A. Nozzle Selection Guidelines

  1. Thin-Walled Models
  • Problem: Small wall thickness can cause over-extrusion at corners, leading to layer defects or nozzle collisions.
  • Solutions:
  • Use a smaller nozzle diameter (e.g., 2mm instead of 3mm).
  • Reduce ‘Perimeters’ to reduce wall layers:
  • Example: For a 12mm thickness shell, use:
  • 2mm nozzle → 2 wall layers
  • 3mm nozzle → 1 wall layer (to prevent excess material buildup).
  • Visual Comparison:
  • Left:2mm nozzle (double extrusion at corners → bulging).
  • Right:5mm nozzle (smooth transitions).
  1. Holes Near Edges
  • Causes: Tight spacing leads to material buildup.
  • Solutions:
  • Reduce ‘Perimeters’ to 2.
  • Switch to a smaller nozzle.
  • Redesign model to increase hole-edge distance.

B. Special Model Optimization

  1. Small Footprint + Tall Models
  • Risk: Bed adhesion failure at higher layers.
  • Fix: Apply glue stick or use a wide brim (10 times the nozzle diameter).
  1. Steep Overhangs (Drooping)
  • Partial Solutions:
  • Enable dynamic overhang speeds
  • Increase cooling fan speed (navigate to: ‘Adjuct’> ‘Fan’  during print).
  1. Model Orientation
  • Poor (Left):Requires excessive supports, prone to dropping.
  • Better (Right):Optimized angle reduces supports and improves quality.
  1. Top-Heavy Models
  • Stabilize with: Glue or a large brim.
  1. Hard-to-Remove Supports
  • Adjust support Z-distance (increase gap between support and model).

C. Design Adjustments for Printability

  1. Models with Minimal Bed Contact
  • Redesign: Add a removable base for stability (avoids messy supports).
  1. Large, Support-Heavy Models
  • Split into parts, print separately, and assemble post-printing.
  1. Irregular Bottom Surfaces
  • Reposition vertically + add a custom support base + large brim.

Troubleshooting Common Print Failures

  1. Layer Separation

Causes & Solutions:

  • Material Runout: Check if the filament spool is empty or jammed.
  • Sensor Issues: Ensure the filament sensor isn’t stuck due to static electricity.
  • Overheating: If the upper nozzle cools too slowly, the filament may gum up.
  • Fix:Reduce upper nozzle temp by 5–10°C(navigate to: ‘Adjuct’ > ‘Temperature’  during print).
  1. Over-Extrusion

Solutions:

  • Material-Specific Settings:
  • TPU/Soft Filaments:Disabled retraction (causes clogs). Minor over-extrusion is normal for pellet printers.
  • Retraction settings:
  • Use slicer’s default retraction settings for Piocreat pellets brand.
  • Overheating:
  • Fix:Reduce upper nozzle temp by 5–10°C(navigate to: ‘Adjuct’ > ‘Temperature’  during print).
  • Flow Rate Check:
  • Ensure flow calibration isn’t set too high.
  • Nozzle Wear:
  • Replace if the orifice is wider than slicer settings (e.g., 0.4mm nozzle worn to 0.5mm).
  1. Poor Layer Adhesion

Fixes:

  • Increase Nozzle/Bed Temp:
  • Raise by 5–15°C(navigate to: ‘Adjuct’> ‘Temperature’  during print).
  • Drafts/Temperature Swings:
  • Avoid AC/fans blowing directly on the printer.
  1. Diagonal Patterns/Wobble

Root Causes:

  • Tall Model Instability:
  • Add a large brim.
  • Reduce print speed by 20–30%(navigate to: ‘Adjuct’> ‘Speed-‘  during print).
  • Uneven Cooling:
  • Ensure cooling fans evenly cover the model (avoid partial airflow).
  • Mechanical Issues:
  • Tighten belts, lubricate lead screws.
  1. Collapsing/Sagging
  • Improve Cooling:
  • Max out fan speed for overhangs (but avoid warping).
  • Redesign:
  • Add internal supports or split the model.
  • Supports:
  • Use Organic supports for complex model (easier to remove).

3D Printing Insole Customization: A Smarter Approach to Orthotic Solutions

The orthotics industry is undergoing a rapid transformation. As the demand for personalized, high-performance foot care rises, 3D printing is proving to be a powerful tool in delivering efficient, accurate, and scalable solutions for custom orthotic insoles. Leveraging technologies like advanced gait analysis, foot scanning, and proprietary OEM production workflows, clinics and manufacturers can now deliver tailored insole solutions faster, more affordably, and with superior consistency.

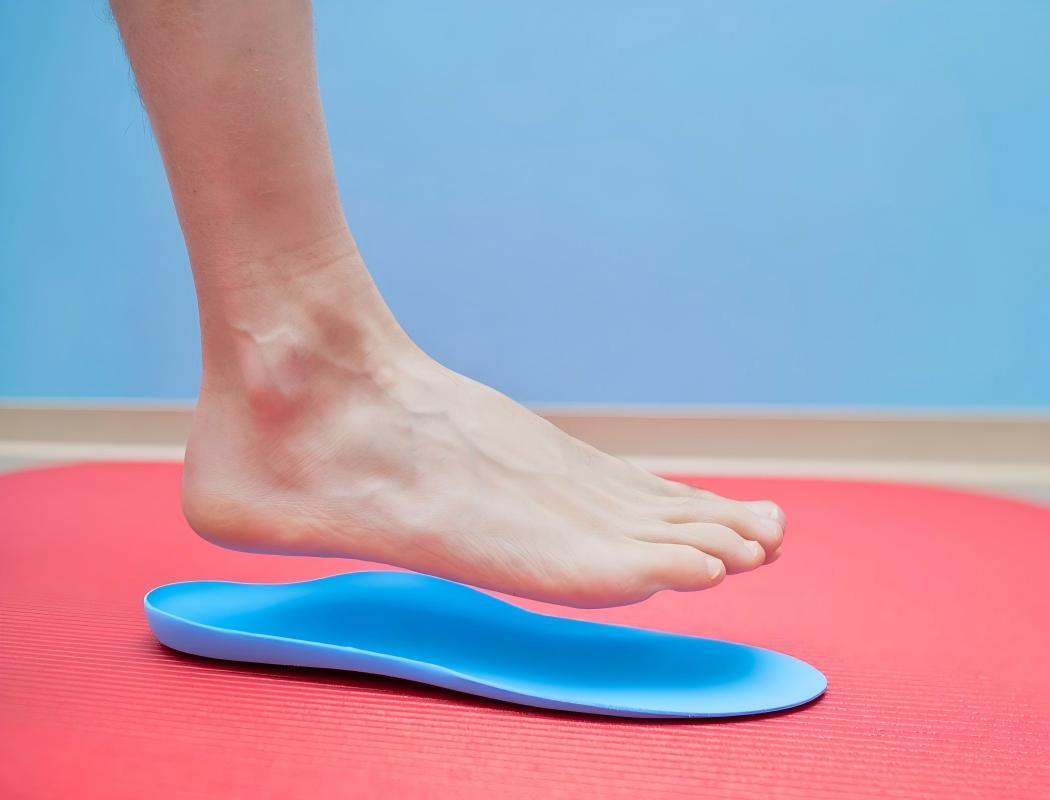
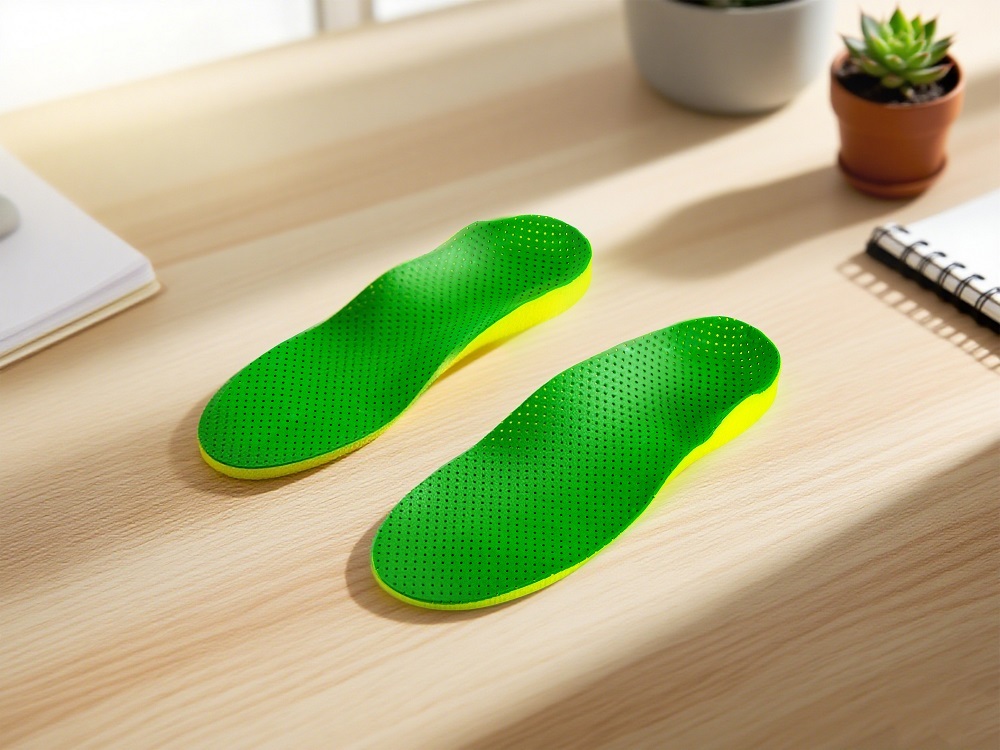
3d printed shoe insoles

The Need for Customization in Foot Orthotics

No two feet are exactly alike. Variations in foot arch, gait, pressure points, and structure mean that one-size-fits-all insoles often fall short—particularly for patients with specific needs related to posture, pain management, or rehabilitation. Traditional methods of custom insole production can be slow, expensive, and prone to inconsistencies.

That’s where 3D-printed orthotic insoles change the game. They offer precision, adaptability, and repeatability—hallmarks of any high-quality medical device.

From Foot Scan to Finished Product: How the Process Works

Delivering a custom-fit insole involves more than just printing a shape. It requires a full-stack approach—from biometric data capture to final finishing—each step designed to ensure clinical-grade outcomes.

1. Gait Analysis

Dynamic gait analyzers capture how a person walks, highlighting imbalances or asymmetries that could contribute to foot pain, knee issues, or back problems.

2. 3D Smart Foot Scanning

Devices like the FS A003 and FS B001 generate highly accurate 3D models of the foot. The FS A003 captures millimeter-level detail in just 5–10 seconds, while the FS B001 delivers ultra-fast, ±2–3mm precision in as little as 1.5 seconds. These scanners are especially valuable in clinical settings where time and accuracy are critical.

3. Data Analysis

Using software to analyze pressure distribution, arch type, and structural anomalies, clinicians can make data-driven decisions on support zones, material density, and geometry.

4. Custom Insole Design

With this rich dataset, CAD tools help generate a digital insole model tailored to the individual’s foot shape and biomechanical needs.

5. 3D Printing

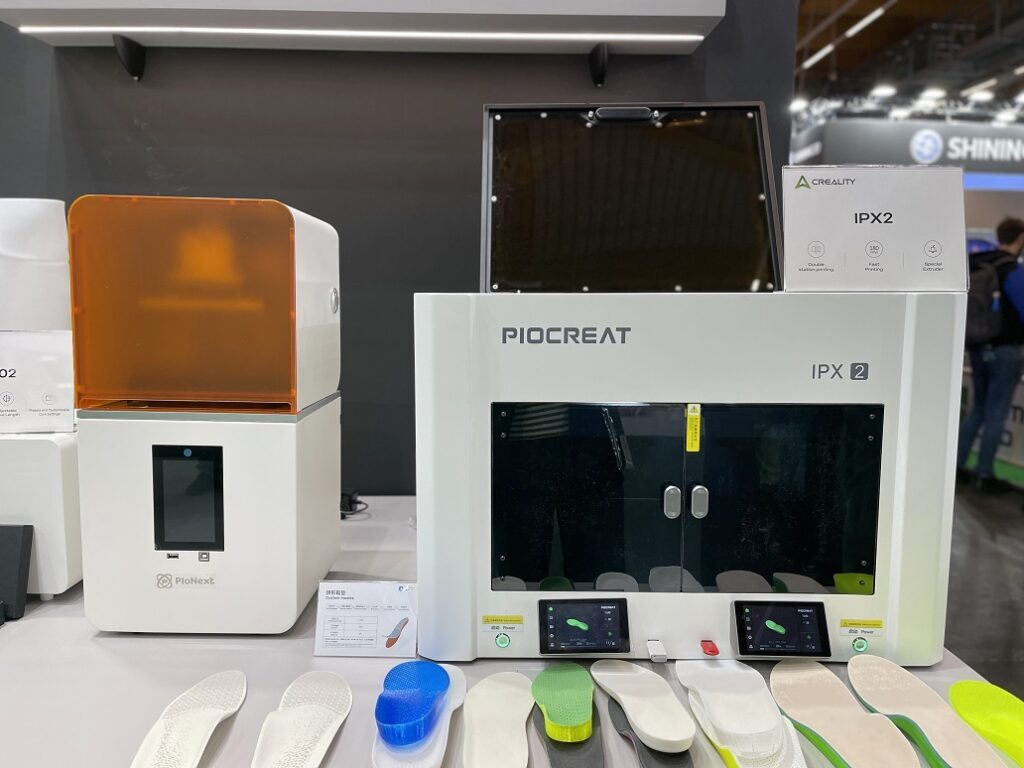
Custom insole models are printed using specialized FDM printers like the IPX2. This machine features independent dual nozzles, allowing simultaneous printing with flexible and rigid materials—ideal for combining comfort with structural support.

6. Insole Veneer Production

Aesthetic and functional veneers—customizable by color, finish, or antimicrobial properties—are added to match the patient’s lifestyle or medical requirement.

7. Polishing and Finishing

Final polishing ensures comfort, accuracy in fit, and wearability. Each pair is finished to clinical-grade standards before delivery.

Insole-Customization-Solution

The Advantages of 3D-Printed Insoles in Clinical Practice

Unmatched Precision

Unlike mass-produced inserts, 3D-printed insoles are mapped exactly to each patient’s anatomical structure. This level of customization improves pressure redistribution, enhances stability, and reduces pain more effectively.

Durability Through Materials

Modern 3D printing materials are engineered for long-term use, combining flexibility and strength. Whether the patient is walking all day or training athletically, these insoles maintain performance over time.

Scalable and Efficient Production

What once took days or weeks can now be accomplished in hours. The streamlined digital workflow—from scan to print—reduces production times without sacrificing customization. Clinics can now offer same-day or next-day custom insole solutions.

Cost Efficiency at Scale

Thanks to OEM production systems like PioCreat, large-scale manufacturing of personalized insoles becomes feasible. This reduces per-unit cost, allowing practices to deliver premium products at a competitive price.

The Technology Behind the Solution

IPX2 FDM 3D Printer

The IPX2 isn’t just another desktop printer—it’s purpose-built for orthotic insole production. With independent dual extruders, it supports simultaneous printing of multiple material types, making it possible to create insoles with both soft zones and rigid frames in a single print.

Other key features:

  • Designed for flexible materials

  • Easy-to-use interface for clinical staff

  • Fast turnaround for high patient volume environments

This printer helps podiatrists and orthotic technologists scale up in-house production, reduce outsourcing costs, and maintain full control over customization.

FS A003 Smart Foot Scanner

FS A003 3D smart foot scanner

The FS A003 offers a compact, high-speed scanning system with full 3D modeling capabilities:

  • Millimeter-level precision

  • 5–10 second scan time

  • Seamless integration with CAD/CAM design software

It’s optimized for clinics that need consistent, high-fidelity data capture for orthotic production.

FS B001 Portable Scanner

FSB001 Double Plantar Scan

Designed for rapid scanning in dynamic environments, the FS B001 delivers:

  • ±2–3mm accuracy

  • 1.5-second scanning time

  • Intelligent reporting on arch type, heel angle, foot length, and more

Its speed and portability make it especially useful for pediatric assessments, home visits, or sports medicine applications.

Real-World Impact

For prosthetists, orthotists, and orthopedic manufacturers, adopting a 3D printing insole solution is more than a tech upgrade—it’s a strategic shift. By combining smart scanning, AI-informed design, and additive manufacturing, practitioners gain the ability to:

  • Improve patient outcomes through precision-fit support

  • Reduce lead times and cost per unit

  • Eliminate inconsistencies in manual fabrication

  • Offer new services like same-day orthotic delivery

  • Expand business models into sports, rehabilitation, and wellness markets

Conclusion

3D printing isn’t just the future of orthotic insoles—it’s the present. With integrated systems like the IPX2 printer and FS series scanners, medical device professionals can deliver highly customized, clinically effective insoles at scale. For clinics and manufacturers looking to increase efficiency, reduce costs, and enhance patient satisfaction, 3D-printed insole solutions represent a clear path forward.

Ready to evolve your orthotics practice? Now is the time to step into the future—one perfectly printed insole at a time.

3D Printed Scoliosis Braces: Transforming Orthotic Care with Precision and Comfort

In the evolving field of orthotics and prosthetics, 3D printing technology is redefining how scoliosis treatment is approached. Traditional scoliosis braces, while effective, often suffer from limitations in fit, comfort, and customization. Additive manufacturing introduces a powerful alternative—3D printed scoliosis braces—which promise not only better patient outcomes but also greater efficiency for medical equipment manufacturers and orthopedic professionals.

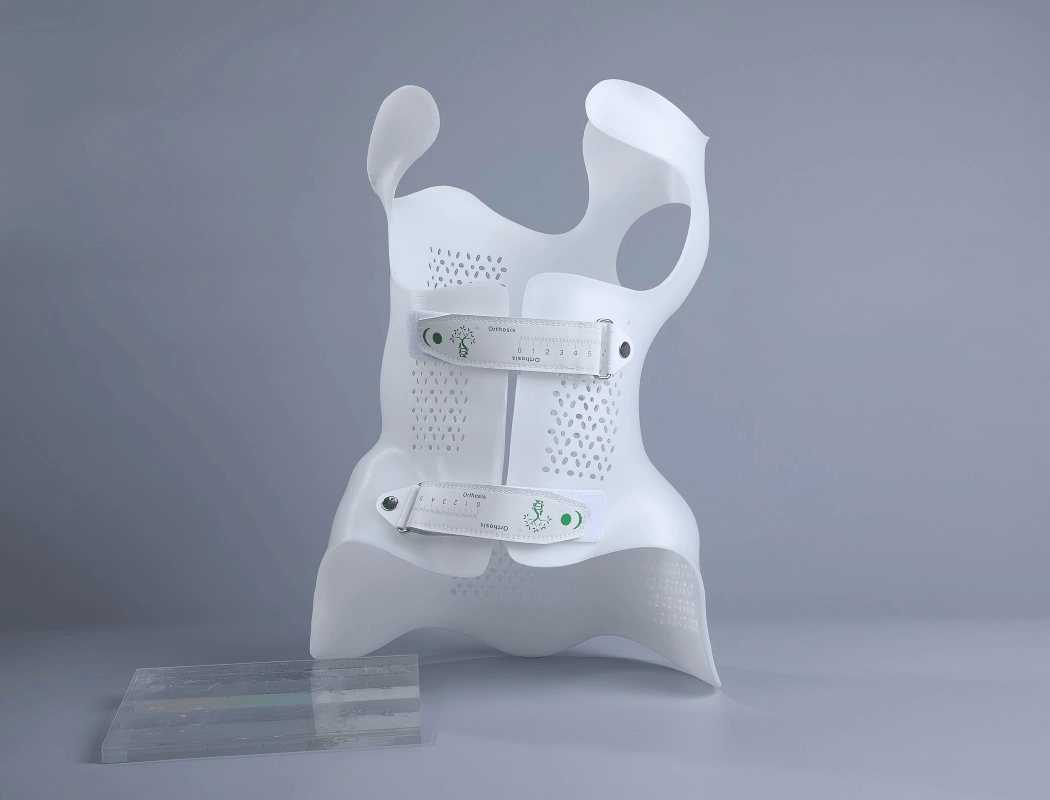
3D printing Scoliosis solutions

Precision Engineering with 3D Printing in Scoliosis Treatment

Scoliosis, characterized by an abnormal curvature of the spine, often requires long-term bracing, particularly in adolescents. Successful treatment hinges on three essential qualities: fit, comfort, and patient compliance. These are exactly where 3D printing excels.

With the integration of digital spine scanning and computer-aided design (CAD), orthopedic specialists can now create highly personalized orthotic braces tailored to each patient’s unique spinal anatomy. This not only enhances correction but also improves the patient’s willingness to wear the brace consistently.

The 3D Printed Scoliosis Orthotic Production Process

The workflow behind a 3D printed scoliosis brace combines digital precision with material innovation:

1. High-Precision 3D Scanning

A high-resolution 3D scanning system is used to capture the patient’s body surface geometry with accuracy. This replaces traditional casting, which can be time-consuming and prone to error.

2. Data Processing and Brace Design

Once the data is collected, software converts the three-dimensional body surface scan into a digital model. Orthopedic experts shape the brace around this model, factoring in corrective forces and patient mobility.

3. Dedicated 3D Printing

The design is then sent to a pellet-based 3D printer such as the MS 01 High-Temperature Pellet 3D Printer by PioCreat. It prints the brace using lightweight, engineering-grade thermoplastic pellets, precisely layering the structure to ensure strength, flexibility, and breathability.

4. Fitting and Adjustment

Once printed, the brace is fitted to the patient. Adjustments are minimal due to the custom nature of the process. Patients report a better experience from the start, thanks to the tailored fit.

5. Monitoring and Outcome Comparison

Orthotic teams document before-and-after results, noting spine correction progress and patient feedback on wearability, comfort, and aesthetics.

Key Benefits of 3D Printed Scoliosis Braces

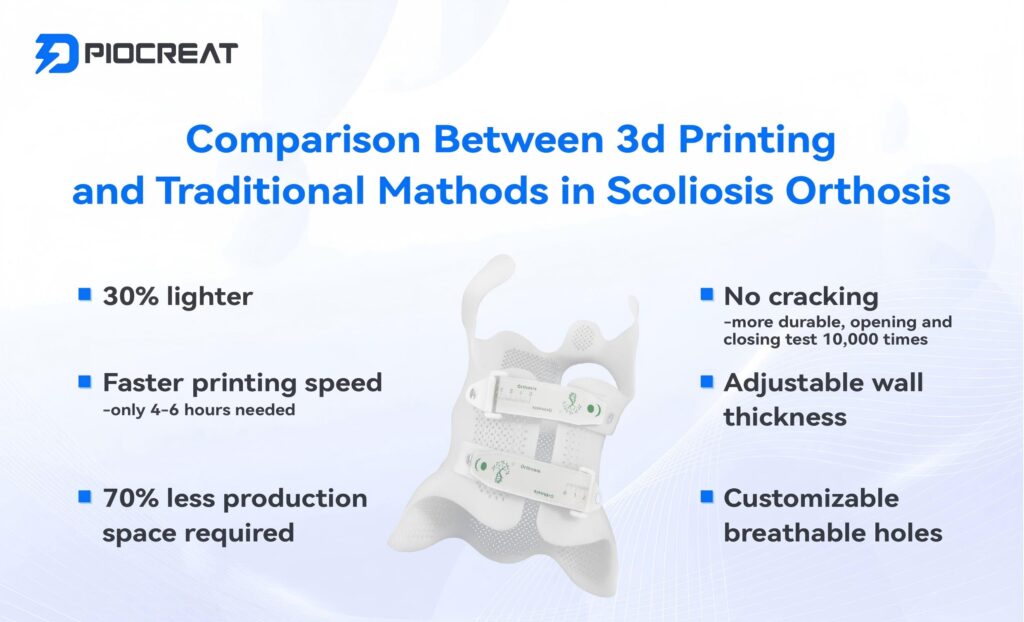
1. Lightweight Yet Durable

The braces are manufactured from advanced, lightweight thermoplastics, enabling patients to move freely without sacrificing the support needed for spinal correction. Lighter braces are also easier to wear under clothing and less tiring over long periods of use.

2. Close-Fitting Plasticity

Using exact 3D spine data, the brace contours closely to the patient’s body. This custom fit ensures effective corrective pressure while minimizing discomfort. Traditional braces, by contrast, often require multiple rounds of adjustments to achieve the same level of precision.

3. Breathable and Comfortable Design

Pellet 3D printing allows the creation of ventilation patterns and mesh-like structures within the brace, reducing heat build-up and skin irritation. This improves long-term wearability and helps patients adhere to prescribed brace schedules.

4. Personalized Aesthetics

Braces can be customized in style, shape, and even color, providing a much-needed psychological boost, especially for young patients. This personalization helps transform the brace from a stigmatizing medical device into a wearable piece of identity.

MS 01 Pellet 3D Printer: Engineered for Orthotic Applications

To meet the high standards of orthotic fabrication, PioCreat developed the MS 01 High-Temperature Pellet 3D Printer, optimized for printing with high-performance medical-grade materials. This system offers unmatched flexibility and production capabilities for clinics and device manufacturers.

Key Features:

  • Nozzle Temperature up to 400°C: Ideal for processing engineering thermoplastics like PA, TPU, and PETG with structural and functional integrity.

  • Large Build Volume: 500×500×650mm allows for full-size torso braces to be printed in a single piece, eliminating weak points from part assembly.

  • Fully Enclosed Chassis: Maintains a stable environment, ensuring dimensional accuracy and print quality even with high-temp materials.

The MS 01’s screw-extruder design enables the use of pellet feedstocks, which are more affordable and environmentally friendly than filament. Clinics and labs can reduce costs while expanding material options.

Why It Matters: From Clinic to Community

For prosthetists, orthotists, and healthcare providers, the shift toward 3D printed scoliosis braces brings multiple advantages:

  • Faster turnaround times with digital scanning and printing

  • Less material waste compared to subtractive methods

  • More comfortable and compliant patients, leading to improved clinical outcomes

  • Scalable production for both small clinics and larger medical manufacturers

As the field moves forward, digital orthotics fabrication will continue to set new standards in patient care and operational efficiency.

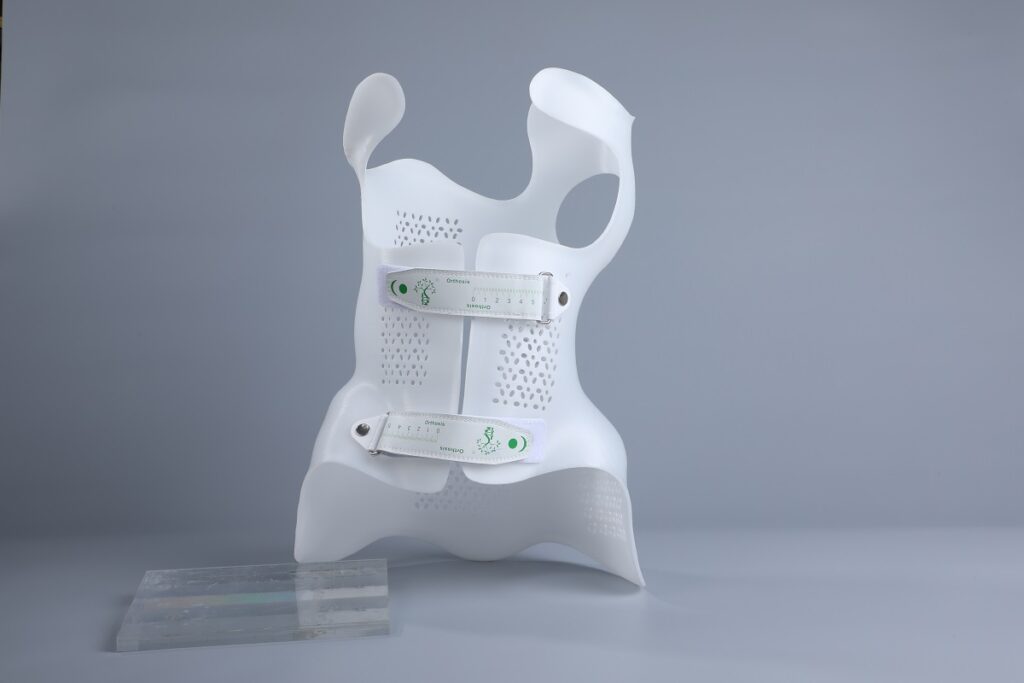
Customized-Spine-Orthosis
Scoliosis-solutions

Looking Ahead

The integration of pellet 3D printing into orthotic production not only modernizes how braces are made, but it also empowers practitioners with new tools to deliver better care. With reliable hardware like the MS 01, supported by high-precision scanning and customizable design workflows, healthcare professionals can meet the growing demand for personalized, sustainable, and effective scoliosis treatment.

In a healthcare landscape increasingly focused on patient-centered design, 3D printed scoliosis braces are more than a technological upgrade—they represent a new standard in orthotic innovation.

Interested in learning more about how pellet 3D printing can improve orthotic outcomes? Contact us to explore how the MS 01 can elevate your practice.

3D Printed Wall Climbing Magnetic Device with G5 Ultra

At the intersection of creativity, engineering, and cutting-edge fabrication lies a compelling experiment from Canadian content creator Tyler Csatari, who boasts an audience of 2.65 million followers. His recent project—a wall climbing magnetic device—showcases not only his inventive spirit but also the powerful capabilities of PioCreat’s G5 Ultra Pellet 3D Printer.

Climbing Magnetic Device

In this exciting build, Tyler set out to test a set of industrial magnets rated to support up to 400 pounds with the goal of creating a functional wall-climbing tool. However, during initial trials, he discovered a critical flaw: the magnets slipped easily on surfaces, failing to provide the necessary grip to support his weight.

To solve this, Tyler turned to additive manufacturing. Leveraging the G5 Ultra’s FGF (Fused Granulate Fabrication) 3D printing technology, he began printing parts with a custom material blend—including iron powder and flexible rubber pellets—to create components that were both magnetic and non-slip.

PioCreat’s G5 Ultra Pellet 3D Printer

Throughout the project, he faced several engineering challenges. Structural fractures in early prototypes forced him to repeatedly refine the design. But thanks to the G5 Ultra’s material compatibility, large build volume (500×500×400 mm), and screw extruder system, Tyler was able to iterate quickly, pushing the limits of functionality with each version.

Ultimately, his perseverance paid off. The final result was a full “wall climbing suit” equipped with magnet-enhanced grips for both hands and feet. The combination of material innovation and rapid prototyping enabled by the G5 Ultra allowed him to move from concept to a working prototype within a remarkably short timeframe.

This case study highlights more than a viral video—it demonstrates the real-world potential of pellet 3D printing in functional prototyping, particularly in combining multi-material composites to solve performance-based problems.

3D Printed Art Decoration for Museum – A Collaboration Between Samaya Investment and PioCreat

In the evolving landscape of museum and exhibition design, innovation, artistry, and sustainability must work in harmony. This vision recently came to life through a remarkable collaboration between Samaya Investment, a Saudi company specializing in cultural and exhibition projects, and PioCreat, a leader in industrial 3D printing technology.

The Vision Behind the Project

Samaya Investment is renowned for delivering world-class cultural experiences, offering services that span architectural design, interior planning, and technical development for museums, visitor centers, and exhibitions—both permanent and temporary. Their team is committed to transforming narratives into immersive physical spaces that engage, educate, and inspire.

In one of their latest museum projects, Samaya aimed to integrate large-scale artistic installations that not only stood out visually but also aligned with sustainable and innovative production methods. For this purpose, they turned to PioCreat and its cutting-edge G12 FGF (Fused Granulate Fabrication) Pellet 3D Printer.

Why the PioCreat G12 Was the Perfect Fit

For this ambitious project, the G12 offered a number of decisive advantages:

  • Speed to Market: The G12 enabled rapid prototyping and full-scale production of large decorative elements in a fraction of the time required by traditional fabrication methods. This agility allowed Samaya’s design team to swiftly iterate and gain client approvals without delays.

  • Cost Efficiency: Using thermoplastic pellets, the G12 bypassed the need for costly molds and tooling. This digital-to-physical workflow significantly reduced production costs and improved overall budget control.

  • Design Freedom: The G12’s ability to print large, complex geometries gave Samaya the freedom to explore organic forms, intricate textures, and bold structures that would be difficult or impossible to achieve with conventional manufacturing.

  • Sustainable Innovation: With minimal waste and the use of recyclable ABS material, the project embraced eco-conscious practices—a key value for both Samaya and the cultural institutions they serve.

Bringing the Installation to Life

The final product was a series of large-format, visually captivating art installations that became focal points within the museum’s new exhibit space. Printed in durable ABS using the G12 and then finished with custom painting and surface treatments, the results were stunning—vivid in color, intricate in form, and seamless in execution.

These installations not only enhanced the visual narrative of the museum but also demonstrated the practical power of additive manufacturing in architectural and cultural design applications. Compared to traditional sculpting or fabrication techniques, the G12 dramatically improved production speed and reduced logistical complexities.

A New Era for Exhibition Design

This collaboration between Samaya Investment and PioCreat showcases a broader shift in how designers, curators, and fabricators are approaching modern exhibition and museum planning. Additive manufacturing is no longer just a prototyping tool; it is becoming a core enabler of artistic expression, operational efficiency, and sustainable design in the cultural sector.

“With the G12, we were able to turn bold artistic visions into tangible centerpieces in record time, while staying true to our commitment to quality and sustainability,” said a Samaya project representative. “It’s not just technology—it’s a tool for storytelling.”

About the PioCreat G12

The G12 Pellet 3D Printer is designed for large-format, high-speed extrusion using open-source thermoplastic pellets. Ideal for manufacturing patterns, molds, artistic structures, tooling, and full-scale prototypes, it supports a wide range of materials and is equipped for demanding creative and industrial environments.

Please enable JavaScript in your browser to complete this form.
Name
Country